28 DAY START UP PROCEDURE
ITEMS YOU WILL & WILL NOT REQUIRE

Soft-bristle Pool Brush

Soft-bristle Pool Vacuum Head

Extendable Pool Pole

Skimmer Vacuum Plate

Pool Vacuum Hose

NO WHEELED CLEANERS FOR MIN 30 DAYS

NO WHEELED VACUUM HEADS FOR MIN 30 DAYS

DO NOT USE METAL BRUSHES
Start-Up for Plastered Pools
Every newly plastered pool will require a 28 day “Start Up” procedure, and it is crucial that someone monitors the pool closely, whether it be a homeowner (even with basic pool knowledge) or your local pool service professional. The majority of the curing phase for pool plaster occurs within the first 28 days, and this is a critical time in which the pool water chemistry needs to be balanced, and the pool surface brushed.
The 4 basic key points for a 28 day “Start Up”
Balance pool water chemistry.
Brush the entire surface of pool often. The more you brush, the more beautiful of a finish you will get.
Keep pool water clean & vacuum any plaster dust or debris.
No salt for the first 28 days. The longer you can go without salt, the better.
Day 1 - POOL FILLING DAY
Make sure the equipment is set and has power.
Fill the pool with clean water as rapidly as possible, without interruption, to the appropriate level. It’s recommended the pool be filled by water trucks. PlasterRock Pools can usually organize water trucks to fill your pool, for an additional cost to the water truck company. Pool fill water is never included.
At no time should any person or pet be in the pool prior to the complete filling of the pool.
Start pump and filtration system when pool is full, water should be half way up the skimmer. Do not turn on heater.
Once pool is circulating, dump in provided or recommended “start up” chemicals. Do not dump all in one spot.
You may start brushing the pool on Day 1, a few hours after filling is complete.
DAY 2
Start filtration system & pumps if you haven’t yet.
Test water chemistry, record results.
Adjust pH to 7.2. If bringing pH down, use pre-diliuted muriatic acid (liquid).
Adjust TA (total alkalinity) to 80-100 ppm, if bringing TA down, use pre-diluted muriatic acid (liquid).
When adding pre-diluted muriatic acid, try to disperse throughout the pool, not dumping it in one spot.
Brush ENTIRE surface of pool, thoroughly. You may brush more than once a day. More brushing, the better.
Vacuum any plaster/calcium dust with soft brush vacuum head, nothing aggressive. Backwash filter after.
DAYS 3-7
Test water chemistry daily, record results.
Adjust pH to 7.2 - 7.6 and TA (total alkalinity) to 80-100ppm.
Once pH & TA are at desired levels, start to adjust Calcium Hardness to 200 - 300ppm.
Introduce Chlorine to the pool. Use pre-diluted or pre-dissolved. Bring Chlorine levels to 1.5 - 3ppm.
NO SALT FOR FIRST 28 DAYS
Once water has started to clear up and is free of plaster dust, you may turn the pool heater on and start swimming in the pool.
Brush entire surface of pool daily.
Vacuum any dust/debris daily.
WEEKS 2-4
Continue to test water chemistry every 2 to 4 days. Record results.
Begin to adjust all water chemistry parameters according to the chart below.
Brush & vacuum the pool every 2 to 3 days.
Water Chemistry
PH 7.2 - 7.6 ppm
Alkalinity 80 - 120 ppm
Calcium Hardness 200 - 400 ppm
Free Available Chlorine (FAC) 1 to 3 ppm
Total Available Chlorine (TAC) 1 to 3 ppm
Cyanuric Acid 30-50 ppm
Metals 0 ppm
Salt Level 2500 - 3500 ppm (Salt Chlorination Only, after 28 day startup)
Concrete Pool Winterizing
Proper winterization protects your concrete/plaster pool and helps extend its lifespan. Correct steps—balancing chemistry, using winter chemicals, lowering water correctly, and protecting plumbing—prevent freeze damage, staining, scale, and costly plaster repairs. If unsure, hire a professional to ensure the job is done right.
Pre-winter checklist (best done 1–2 weeks before freezing temps)
Clean the pool thoroughly
Skim surface, brush walls and floor, vacuum debris.
Remove leaves and organic matter to prevent staining.
Balance water chemistry (see above for parameters)
Shock the pool
Superchlorinate to eliminate bacteria and organic load. Follow product directions and wait until chlorine returns to normal levels before adding winter chemicals.
Add winterizing chemicals
Use a winter kit formulated for plaster pools and follow label dosing.
Lower water level
Lower water level below all returns. NEVER empty your pool.
Protect plumbing and equipment
Blow out lines with air compressor and/or use pool-safe antifreeze per local code. Install plugs in skimmer and return lines.
Drain all pool equipment: pump, filter, heater, chlorinator. Remove drain plugs and store them in a dry place.
If using a multiport valve, position to “Winterize” or as manufacturer directs.
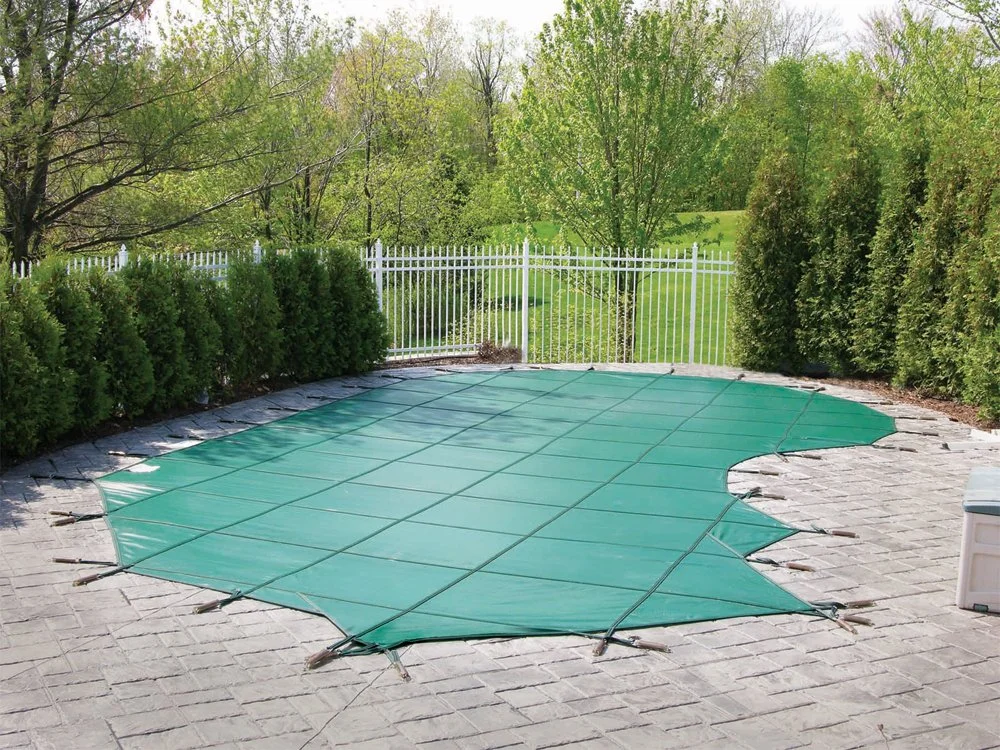
Install the cover
Either a tarp or safety cover. Use straps, anchors, or water bags as recommended to secure it.
“Safety covers” are the best option for optimal protection of your plaster.
Make sure the cover is tight and that water will not pool on top. If water collects, remove it promptly.
Final checks
Double-check chemical levels, plugs, and drain plugs.
Note equipment settings and store pool accessories.
Inspect cover and anchors periodically during winter and remove debris or standing water.